Sending Files
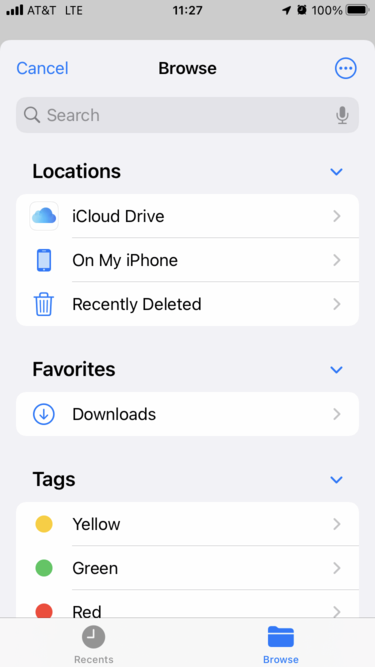
After you have selected a destination you will be taken to the file queue. Click to begin selecting files. iOS divides files into "Documents" stored on your device and media stored in your "Photos and Video Library". Choose which collection you wish to browse. You can switch back and forth between the sources as you build your queue.

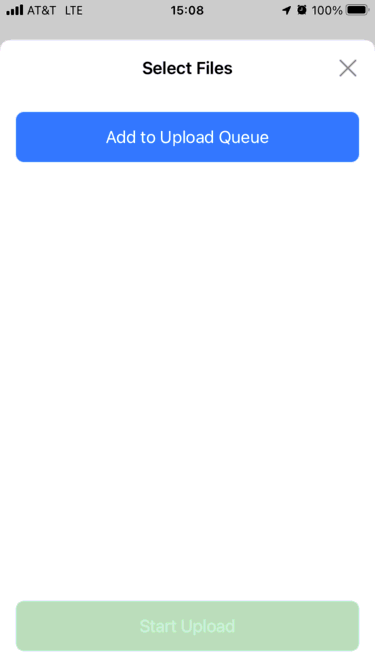
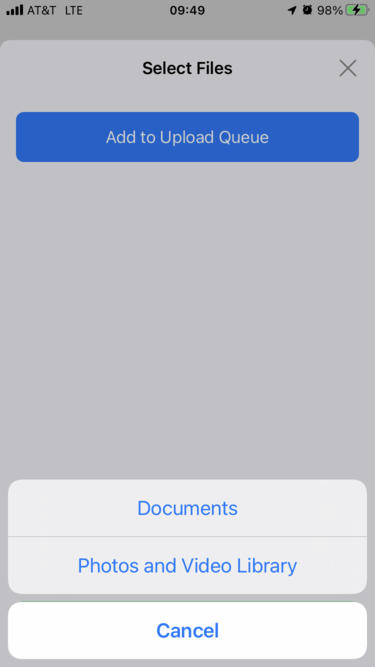
Only files stored on your device should be uploaded. Selecting files stored in iCloud or on other servers will cause iOS to copy them to the device which may take considerable time.
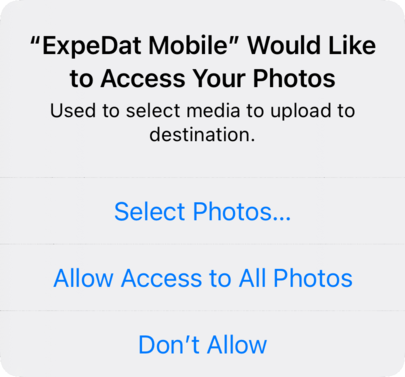
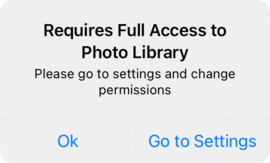
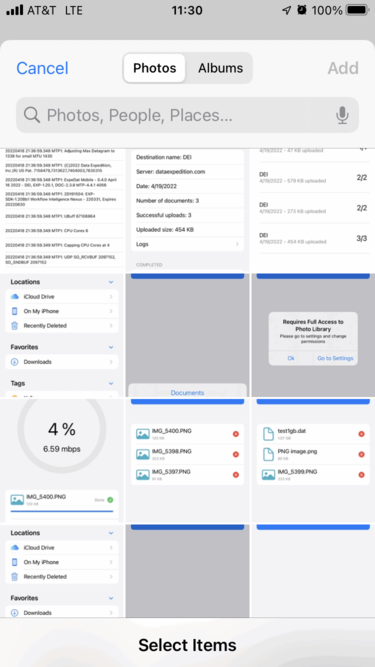
Due to iOS limitations, ExpeDat Mobile must be given access to "All Photos" in the Photos library in order to access any files in the library. If you see one of the dialogs below, click "Allow Access to All Photos" or goto settings and choose "All Photos". Then return to ExpeDat Mobile to continue selecting media.

Once you have selected "Documents" or "Photos and Video Library", browse the available items and choose which ones to add to your queue. The browsing dialogs may look different depending on your device, system version, and the last place you browsed. When browsing Documents for the first time, you may need to click a Browse button at the top left to reach the full list of available documents.
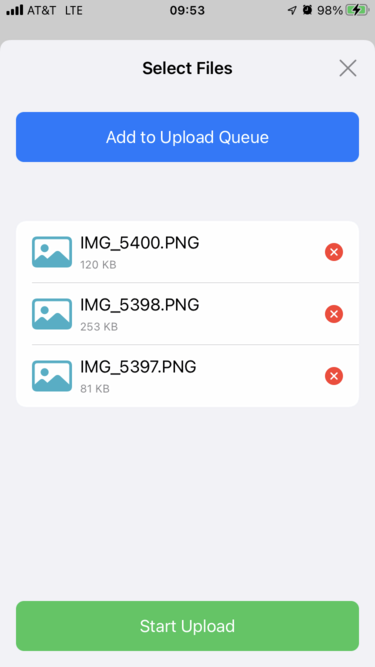
As you build your queue, you may remove an item by clicking the button or add more items by clicking again. Once you have finished selecting the items to send, click
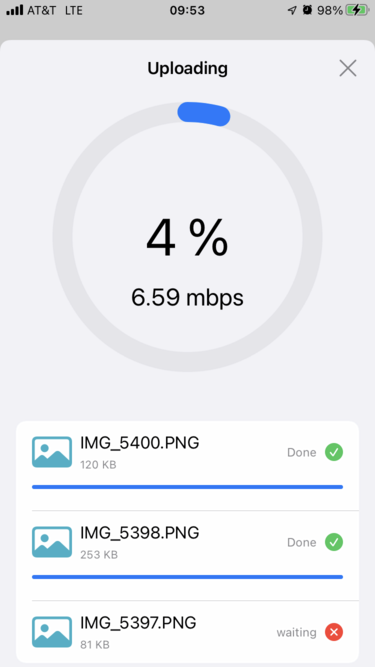
. Upload progress for each item will be tracked at the top of the screen and completed items will be marked "Done
" as they finish. Any error messages will be noted by the item receiving the the error. You may cancel a queued or in-progress item by clicking the
button.
Once the upload session is complete, click to return to the main menu. A record of the session is kept in History.